Walk into any major quick-service chain and you will see them: bright, dynamic digital menu boards cycling through menu items, promotions, and high-resolution food images. These displays are not just aesthetic upgrades. They are proven revenue drivers. Studies consistently show that digital menu boards increase average order value by 8-15% compared to static printed menus, primarily by drawing attention to high-margin items and time-limited promotions.
KwickSign digital displays and self-service kiosks
The good news for independent restaurant owners is that digital signage technology has become dramatically more affordable and easier to manage in recent years. What once required a five-figure investment and a dedicated IT team can now be set up for under $1,000 and managed from your phone. This guide covers everything you need to know to plan, install, and run digital signage in your restaurant.
What Is Restaurant Digital Signage?
Digital signage refers to any electronic display used to show content in a commercial setting. In restaurants, the most common applications include:
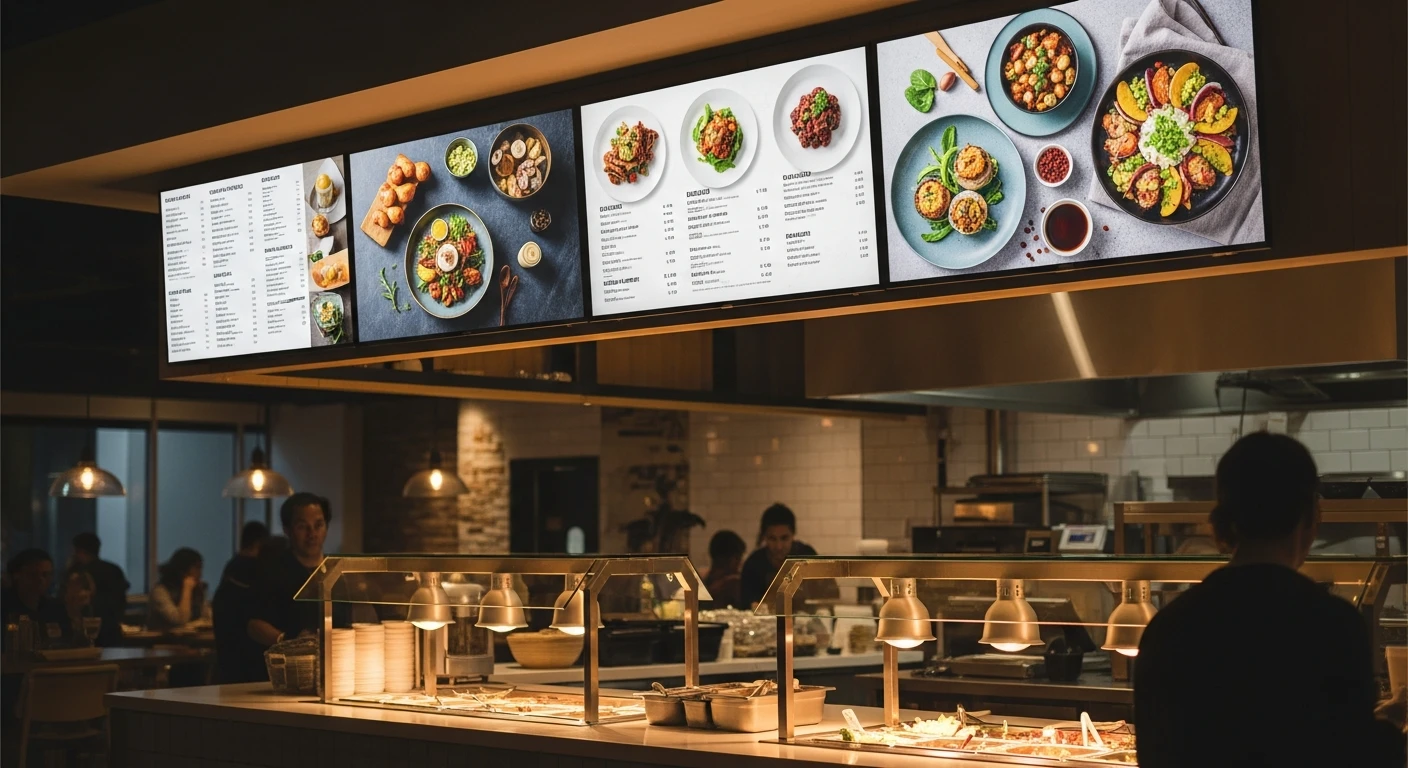
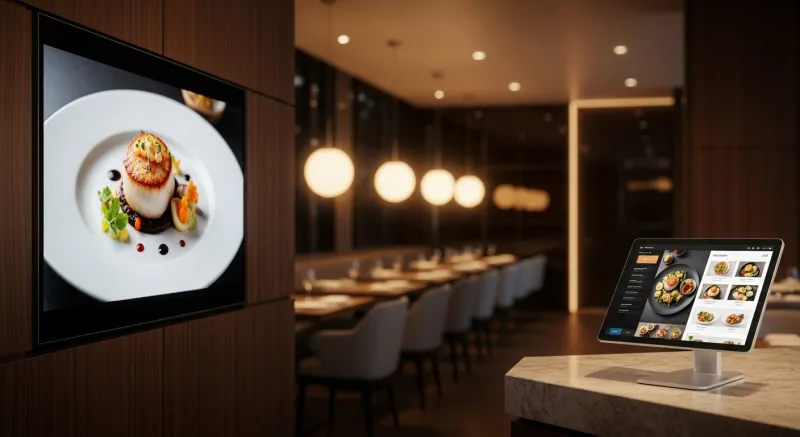
- Digital menu boards: Screens behind the counter or at the entrance displaying your menu with prices, photos, and descriptions. These replace or supplement printed menu boards.
- Promotional displays: Screens showcasing daily specials, limited-time offers, combo deals, or loyalty program promotions. Often placed in waiting areas or near the entrance.
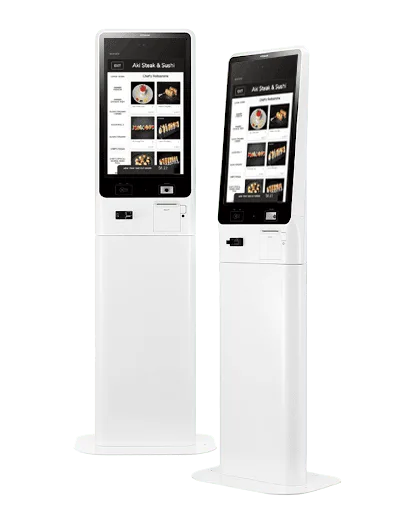
- Order status boards: Displays showing customers the status of their orders (common in fast-casual and QSR formats).
- Window-facing displays: High-brightness screens visible from outside, attracting foot traffic with menu highlights and offers.
- Dining room ambiance screens: Displays showing branded content, social media feeds, or entertainment to enhance the dining atmosphere.
Benefits of Going Digital
Instant Menu Updates
With printed menus and static boards, every price change, new item, or sold-out dish requires a reprint or a marker edit. Digital signage lets you update your menu in seconds from any device. Running out of the salmon special at 7pm? Remove it from the display immediately. Want to promote a slow-moving appetizer during happy hour? Schedule it to appear prominently between 4pm and 6pm every day.
Daypart Menus
Most restaurants have different menus for different times of day: breakfast, lunch, dinner, late night, happy hour. Digital menu boards can automatically switch between these menus on a schedule, eliminating the need for staff to swap out printed boards and ensuring customers always see the right menu.
Higher Average Check
Digital displays allow you to feature high-margin items with professional food photos, motion graphics, and strategic positioning. Research from multiple restaurant technology providers shows that items featured prominently on digital menu boards sell 15-20% more than items displayed in a standard text listing. This makes digital signage one of the most effective upselling tools available.
Reduced Perceived Wait Time
Customers who have engaging content to look at while waiting perceive their wait as shorter. Digital signage in ordering lines and waiting areas can show menu previews, behind-the-scenes kitchen footage, customer reviews, or branded entertainment content that keeps customers engaged and patient.
Professional Brand Image
Well-designed digital displays immediately elevate how customers perceive your restaurant. They signal that your business is modern, organized, and invested in the customer experience. For restaurants competing against chains with significant marketing budgets, digital signage helps level the playing field.
Hardware: Choosing the Right Displays
Screen Type and Size
| Display Type | Best For | Price Range | Key Consideration |
|---|---|---|---|
| Commercial-grade LCD (43"-55") | Menu boards, promotional displays | $400 - $1,200 | Designed for 16+ hour daily operation; higher brightness |
| Consumer TV (43"-65") | Budget setups, low-brightness areas | $200 - $600 | Not rated for commercial use; shorter lifespan; lower brightness |
| High-brightness display (2500+ nits) | Window-facing, outdoor, sunlit areas | $1,500 - $4,000 | Essential for visibility in direct sunlight |
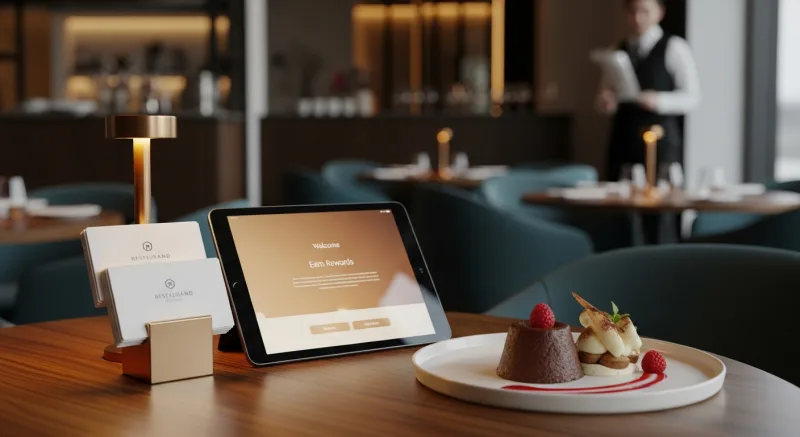
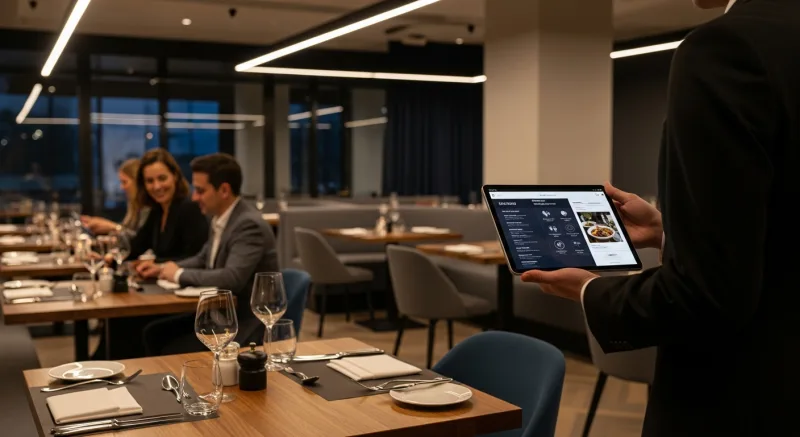
| Tablet (10"-13") | Table-side ordering, small counter displays | $150 - $500 | Interactive; limited to close-range viewing |
For most indoor restaurant menu board applications, a 43-inch or 55-inch commercial-grade display provides the best balance of visibility, durability, and cost. If your menu is extensive, consider a two- or three-screen setup arranged side by side to give each section of your menu adequate space.
Orientation: Landscape vs. Portrait
Landscape (horizontal) orientation is the most common for menu boards, matching the natural way people read left to right. Portrait (vertical) orientation works well for narrow spaces, single-category menus (just beverages, for example), or promotional displays where you want to highlight one item at a time with a large photo.
Media Player
Your display needs a device to feed it content. Options include:
- Built-in smart TV apps: Some signage software runs directly on smart TV operating systems (Android TV, webOS, Tizen). Simplest setup but limited processing power for complex content.
- Dedicated media player: A small device (like an Amazon Fire Stick, Chromebox, or purpose-built signage player) plugged into the display's HDMI port. More reliable and powerful than built-in apps. Cost: $30-150.
- Integrated signage solutions: Some restaurant platforms include signage capability that runs on the same hardware as the POS or on a dedicated tablet. This approach keeps everything in one ecosystem.
Content Management: The Software Side
The hardware displays the content, but the software determines what gets shown, when, and how. Your content management system (CMS) for digital signage should handle:
Menu Synchronization
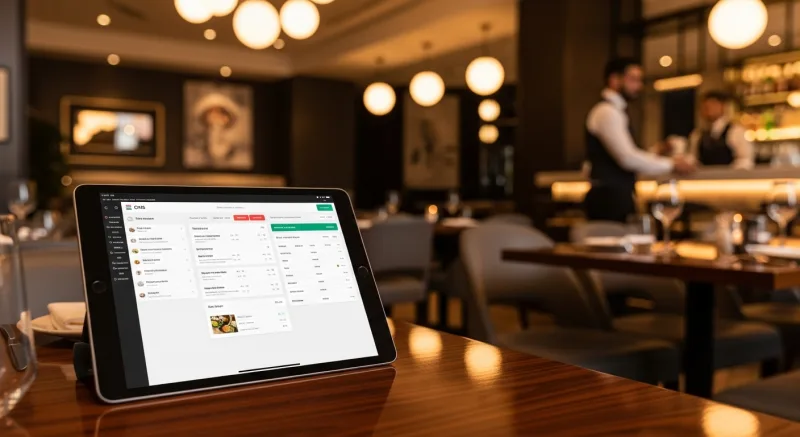
The most powerful digital signage systems pull menu data directly from your POS or menu management system. When you update a price or add a new item in your POS, the digital menu board updates automatically. This eliminates the need to maintain your menu in two separate systems and prevents pricing discrepancies between your POS and your displayed menu.
KwickSign, the digital signage module within KwickOS, works exactly this way. It connects directly to KwickMenu (the menu management system) and KwickPOS, so your digital displays always reflect your current menu, prices, and item availability. When a menu item sells out, it can be automatically removed or marked as unavailable on the digital display without any manual intervention.
Scheduling
Look for CMS software that supports time-based scheduling so you can program different content for different dayparts, days of the week, or specific date ranges (holiday menus, seasonal specials). The best systems allow you to set this up once and let it run automatically.
Templates and Design
Unless you have a graphic designer on staff, you need a CMS that provides professional-looking templates specifically designed for restaurant menus. You should be able to add your logo, choose colors that match your brand, and populate the template with your menu items and photos without needing design software. Drag-and-drop editors that work in a web browser are ideal.
Remote Management
You should be able to update your signage content from anywhere, not just on-site. Cloud-based CMS platforms let you make changes from your phone, laptop, or any device with a browser. For multi-location restaurants, this is essential; you need to push updates to all locations from one dashboard.
For restaurants with multiple locations, a centralized signage management system is not just convenient; it is operationally necessary. Haidilao, an international restaurant chain with over 600 locations, uses KwickSign to manage digital displays across their locations from a single platform, ensuring brand consistency while allowing location-specific customization for local promotions and pricing.
Content Strategy: What to Display
Having digital screens is only valuable if the content on them is effective. Here is a proven content strategy for restaurant digital signage:
The 70/20/10 Rule
- 70% menu content: Your core menu with items, prices, descriptions, and photos. This is what customers are primarily looking for.
- 20% promotional content: Daily specials, combo deals, limited-time items, loyalty program promotions, catering services, gift cards.
- 10% brand/engagement content: Your story, team photos, sourcing information, customer reviews, social media integration, community involvement.
Food Photography
Digital menu boards without food photos are a missed opportunity. The entire point of a visual display is to show customers what the food looks like. Invest time in photographing your menu items (see our guide on restaurant food photography for tips on doing this with your phone). AI-powered tools like KwickPhoto can transform phone snapshots into professional-quality images suitable for large-screen displays.
Motion and Animation
Subtle motion draws the eye more effectively than static images. Consider using gentle animations like rotating featured items, slow zooms on food photos, or scrolling text for daily specials. Avoid jarring transitions, flashing text, or fast animations that feel chaotic and cheap.
Readability
Design your digital menu boards with readability as the top priority:
- Use high-contrast text (dark text on light background, or light text on dark background)
- Keep fonts large enough to read from the ordering line (minimum 24pt for item names at a 6-foot viewing distance on a 55-inch screen)
- Limit the amount of text per screen; use multiple screens or rotation rather than cramming everything onto one
- Use clear visual hierarchy: categories larger than items, items larger than descriptions, prices clearly aligned
Digital Signage That Syncs with Your Menu
KwickSign connects directly to your POS and menu management system, so your digital menu boards are always accurate. Update once, display everywhere.
Explore KwickSignInstallation: Practical Setup Tips
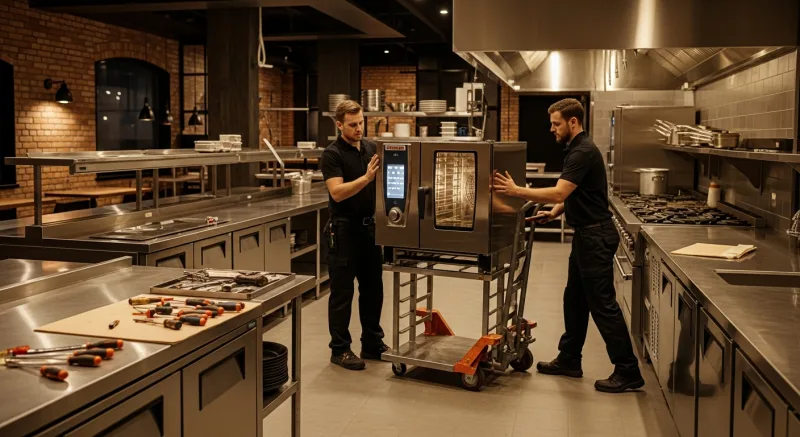
Mounting
Most restaurant menu boards are wall-mounted using commercial display mounts. Key considerations:
- Mount at eye level or slightly above for ordering-line menu boards (center of screen at approximately 5.5-6 feet from the floor).
- Ensure the wall can support the weight. A 55-inch commercial display weighs 30-50 pounds; use appropriate wall anchors or mount into studs.
- Route power and HDMI cables through the wall or use cable covers for a clean look. Visible dangling cables look unprofessional.
- Consider tilting the display 5-10 degrees downward if mounting above eye level, so the screen faces customers rather than pointing straight ahead.
Networking
Your media player needs an internet connection to receive content updates. Wired Ethernet is more reliable than WiFi in a restaurant environment (where microwaves, metal equipment, and thick walls can interfere with wireless signals). If WiFi is your only option, ensure the signal is strong at the display location and use a 5GHz network to avoid interference from other devices.
Power Management
Set your displays to turn on and off automatically using either a built-in timer, a smart plug, or your CMS software. Running displays 24/7 when the restaurant is closed wastes energy and shortens the hardware lifespan.
Costs: What to Budget
Here is a realistic budget breakdown for a typical two-screen digital menu board setup:
| Item | Cost |
|---|---|
| Two 55-inch commercial displays | $800 - $2,400 |
| Two media players | $60 - $300 |
| Wall mounts and cabling | $100 - $200 |
| Professional installation (optional) | $200 - $500 |
| CMS software (monthly) | $0 - $60/month (often included in restaurant platforms) |
| Initial content design | $0 (templates) to $500 (custom design) |
| Total first-year investment | $1,160 - $4,120 |
Compare this to the cost of printing new static menu boards every time you change a price or add an item ($100-300 per reprint for quality boards), and the digital investment pays for itself within 1-2 years, with the added benefits of dynamic content, scheduling, and remote management.
Measuring ROI
To determine whether your digital signage is generating a return, track these metrics before and after installation:
- Average check size: The primary metric. Track whether the average order value increases after installing digital menu boards, especially for promoted items.
- Featured item sales: Track sales of items you prominently feature on digital displays. You should see a measurable lift in these items specifically.
- Speed of service: In QSR and fast-casual settings, digital menu boards can speed up the ordering process because customers arrive at the counter already knowing what they want.
- Print costs eliminated: Tally what you previously spent on printed menus, boards, and promotional materials.
Common Mistakes to Avoid
- Too much content: Cramming your entire 80-item menu onto two screens makes everything unreadable. Prioritize and use rotation for less-popular items.
- Stale content: A digital menu board showing last month's promotion is worse than no promotion at all. Schedule content to expire automatically and review displays weekly.
- Poor image quality: Low-resolution or badly lit food photos on a large screen look terrible and hurt rather than help sales. Only use high-quality images.
- Ignoring maintenance: Screens get dusty, media players need updates, and content needs refreshing. Assign someone to check displays daily and clean screens weekly.
- No menu sync: If your digital menu and POS menu are managed separately, they will inevitably get out of sync, leading to customer frustration when the price on the board differs from the price at checkout. Use an integrated system that syncs them automatically.
Conclusion
Digital menu boards and signage are among the most effective and visible technology investments a restaurant can make. They increase average order value, eliminate the hassle and cost of printed materials, allow instant menu updates, and project a modern, professional brand image.
Start with a clear plan: define what you want to display, choose hardware rated for commercial use, select a CMS that integrates with your existing menu and POS system, and design content with readability and quality food photography as priorities. For the smoothest implementation, consider an integrated platform like KwickOS where your digital signage, menu management, and POS all share the same data, ensuring your displays are always accurate, current, and working for your bottom line.